How to Use Thinning Shears: A Simple Step-by-Step Guide
Thinning is an intricate skill that greatly benefits hairdressers of all skill levels. Whether for adding texture, depth, or achieving an overall stylish cut, thinning is the go-to technique for many. Of course, it requires access to the best thinning shears.
Mainly, there are two types of shears: blending and thinning. Sourcing blending shears instead of thinning can have detrimental effects. While sourcing the right tool is, of course, important, it won’t benefit you unless you know how to properly use it.
In this blog, we provide a detailed step-by-step guide on how to use thinning shears. Read until the end to make an informed decision.
What Are Thinning Shears?
Before we discuss how to use thinning shears, let’s first understand what exactly they are. Also known as texturising scissors, thinning shears are specialised tools designed to cut a limited portion of the hair. This is particularly important when working with clients who do not want a significant reduction in hair length but still want to up the style quotient.
The unique design of thinning shears makes the entire process relatively easy. It has a conventional blade on one side and evenly spaced teeth on the other.
Thinning shears are perfect for:
- Reducing bulk in thick hair
- Softening harsh lines in a haircut
- Adding texture and movement
- Blending layers for a natural finish
A Detailed Guide On How To Use Thinning Shears
Step 1: Choose The Right Shear
You cannot go to battle without the right weapons. Similarly, you cannot be a good hairdresser without the right tools. Choosing the right shear is the most important step of how to use thinning shears. Zen Master Scissors offer a wide range of thinning shears in different sizes. Be it the Tsunami or the Samurai 6″ thinning shear, Zen Master Scissors offer the best tools for experienced and amateur hairdressers in Australia and New Zealand.
Step 2: Start With Clean, Dry Hair
Thinning shears are better suited to cut dry hair than wet. As a rule of thumb, most hairdressers start with clean, dry hair. Wet hair thinning is practised for specific haircuts such as blunt cuts and bobs. It is also appropriate when you want to achieve major length changes. Apart from these scenarios, you must always follow these tips to effectively prepare hair.
Tips for effectively preparing hair:
- Wash thoroughly
- Dry completely
- Comb and detangle
- Section lightly if needed
Thinning dry hair allows for better control, visibility, and accuracy. As mentioned before, wet hair could lead to a significant change in length, which might not be something the client desires.
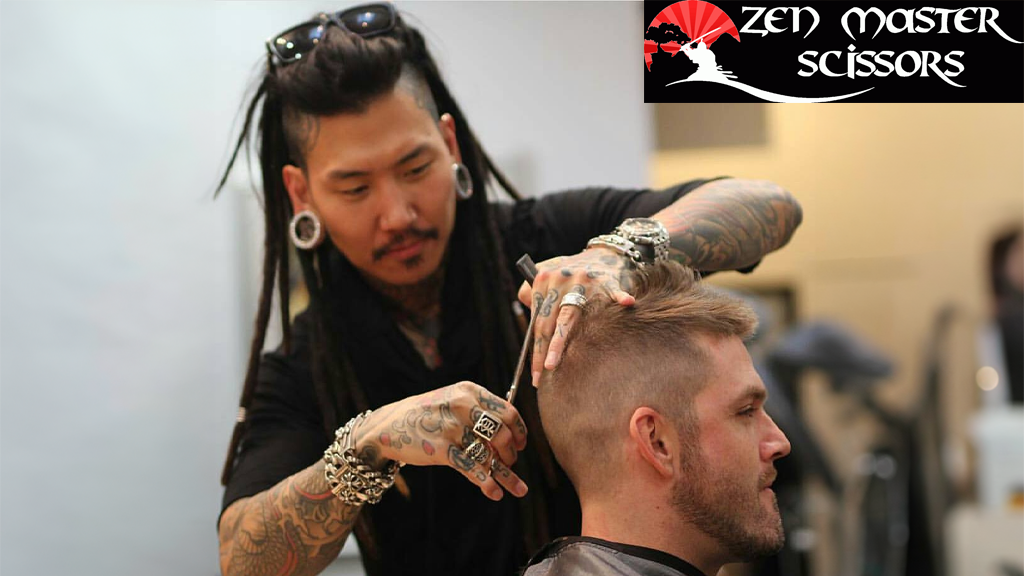
Step 3: Hold the Shears Correctly
This is a rather effective step in the guide on how to use thinning shears. While it sounds simple, it is anything but that. Holding the shears correctly is an art that needs exceptional skills and experience to master.
Here’s how to hold the shears correctly.
- Place your thumb in the thumb hole
- Ring finger in the finger hole
- Index and middle fingers outside
- Keep a slight angle (about 45°)
- Relax your hand and wrist
- Maintain consistent tension on the hair
Step 4: Use the Right Cutting Technique
Mid-Length Thinning
This technique is appropriate for clients with mid-length hair. In this technique, your focus is on the hair extending from the jawline to the shoulders. Many experienced barbers considered mid-length hair best suited for thinning, as longer hair usually weighs it down. To achieve perfect mid-length thinning, open and close the shears midway through the strand.
End Thinning
As the name suggests, in end thinning, the focus is on the last inch or two of the hair.
End thinning helps target thick spots with ease. Whether you want precision or subtle texturising, end thinning is the technique of choice. It is perfect for soft, blunt cuts and feathering finishes. Here’s a pro tip: Use the tips of the shears instead of their entire length for greater precision.
Step 5: Finishing Matters
All is well that ends well. You can significantly enhance client experience at your salon by offering services such as shampooing, blow drying, and styling. Applying these final touches reflects professionalism and attention to detail. Even the clients feel appreciated when you take the time to review your work and not just treat them like ‘just another appointment’.
Common Mistakes To Avoid While Using Thinning Shears
- Over-thinning the hair
- Thinning near the roots
- Using on very fine hair
- Skipping sectioning
- Cutting wet hair too aggressively
- Not holding the shears correctly
- Ignoring hair growth patterns
- Not checking the balance and symmetry
- Using dull or low-quality shears
- Neglecting shear maintenance
Source The Best Shears From Zen Master Scissors
When it comes to sourcing haircut tools and accessories, you cannot take any chances. Only a reputed brand like Zen Master Scissors understands the needs of amateur and experienced hairstylists.
The founder and general manager of Zen Master Scissors believes that without the right tools in your hand, your journey to being an amazing stylist or barber will be a long one.
Eoin Clarke is a fifth-generation hairdresser with over 36 years of experience. He has been helping salon owners grow their businesses over the past 15 years. When it comes to scissors and thinning shears, no one does it better than Zen Master Scissors.
You can explore our entire range of products here. Call 0400 077 830 or email info@zenmasterscissors.com.au to learn about our thinning shears and other products.
Conclusion
From what thinning shears are, their desired applications, and how to use thinning shears perfectly, this guide explains all you need to become better at haircutting. Zen Master Scissors is a one-stop destination for all your barber supply requirements in Australia and New Zealand. Our extensive selection of hair thinning scissors and hairdressing scissors meets the highest safety and performance standards.